Custom Stone Garden Bed Build with Dedicated Herb and Vegetable Planting Spaces

Most backyard garden setups are just plastic bins or cheap wooden frames thrown together. They work for a season or two, then they rot, shift, or fall apart. This homeowner wanted something totally different - a permanent, custom-built stone garden bed that would last for years and actually look good doing it.
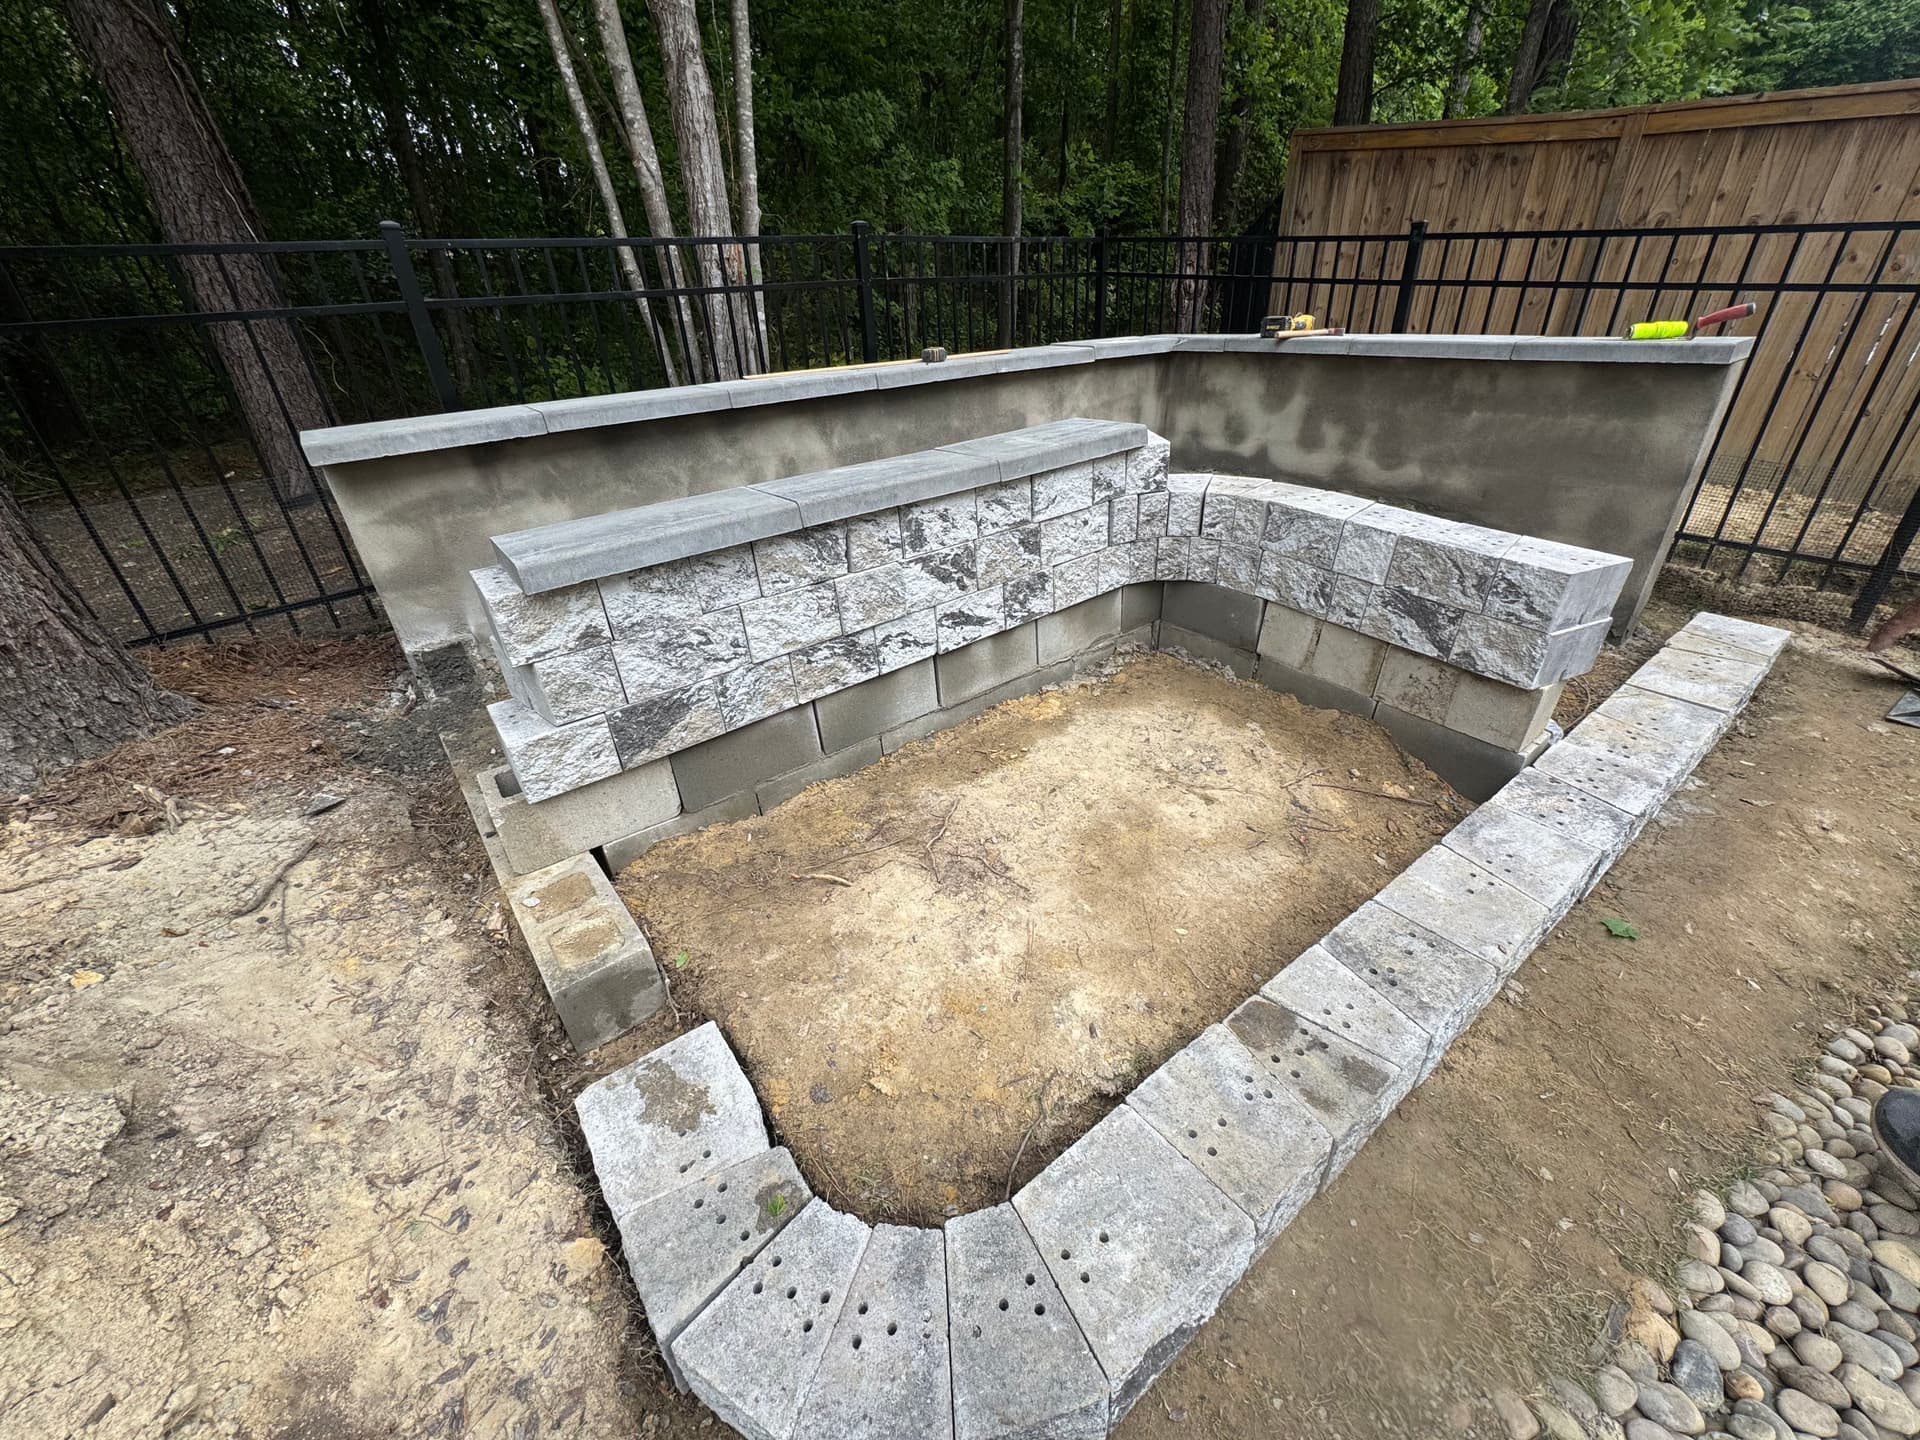
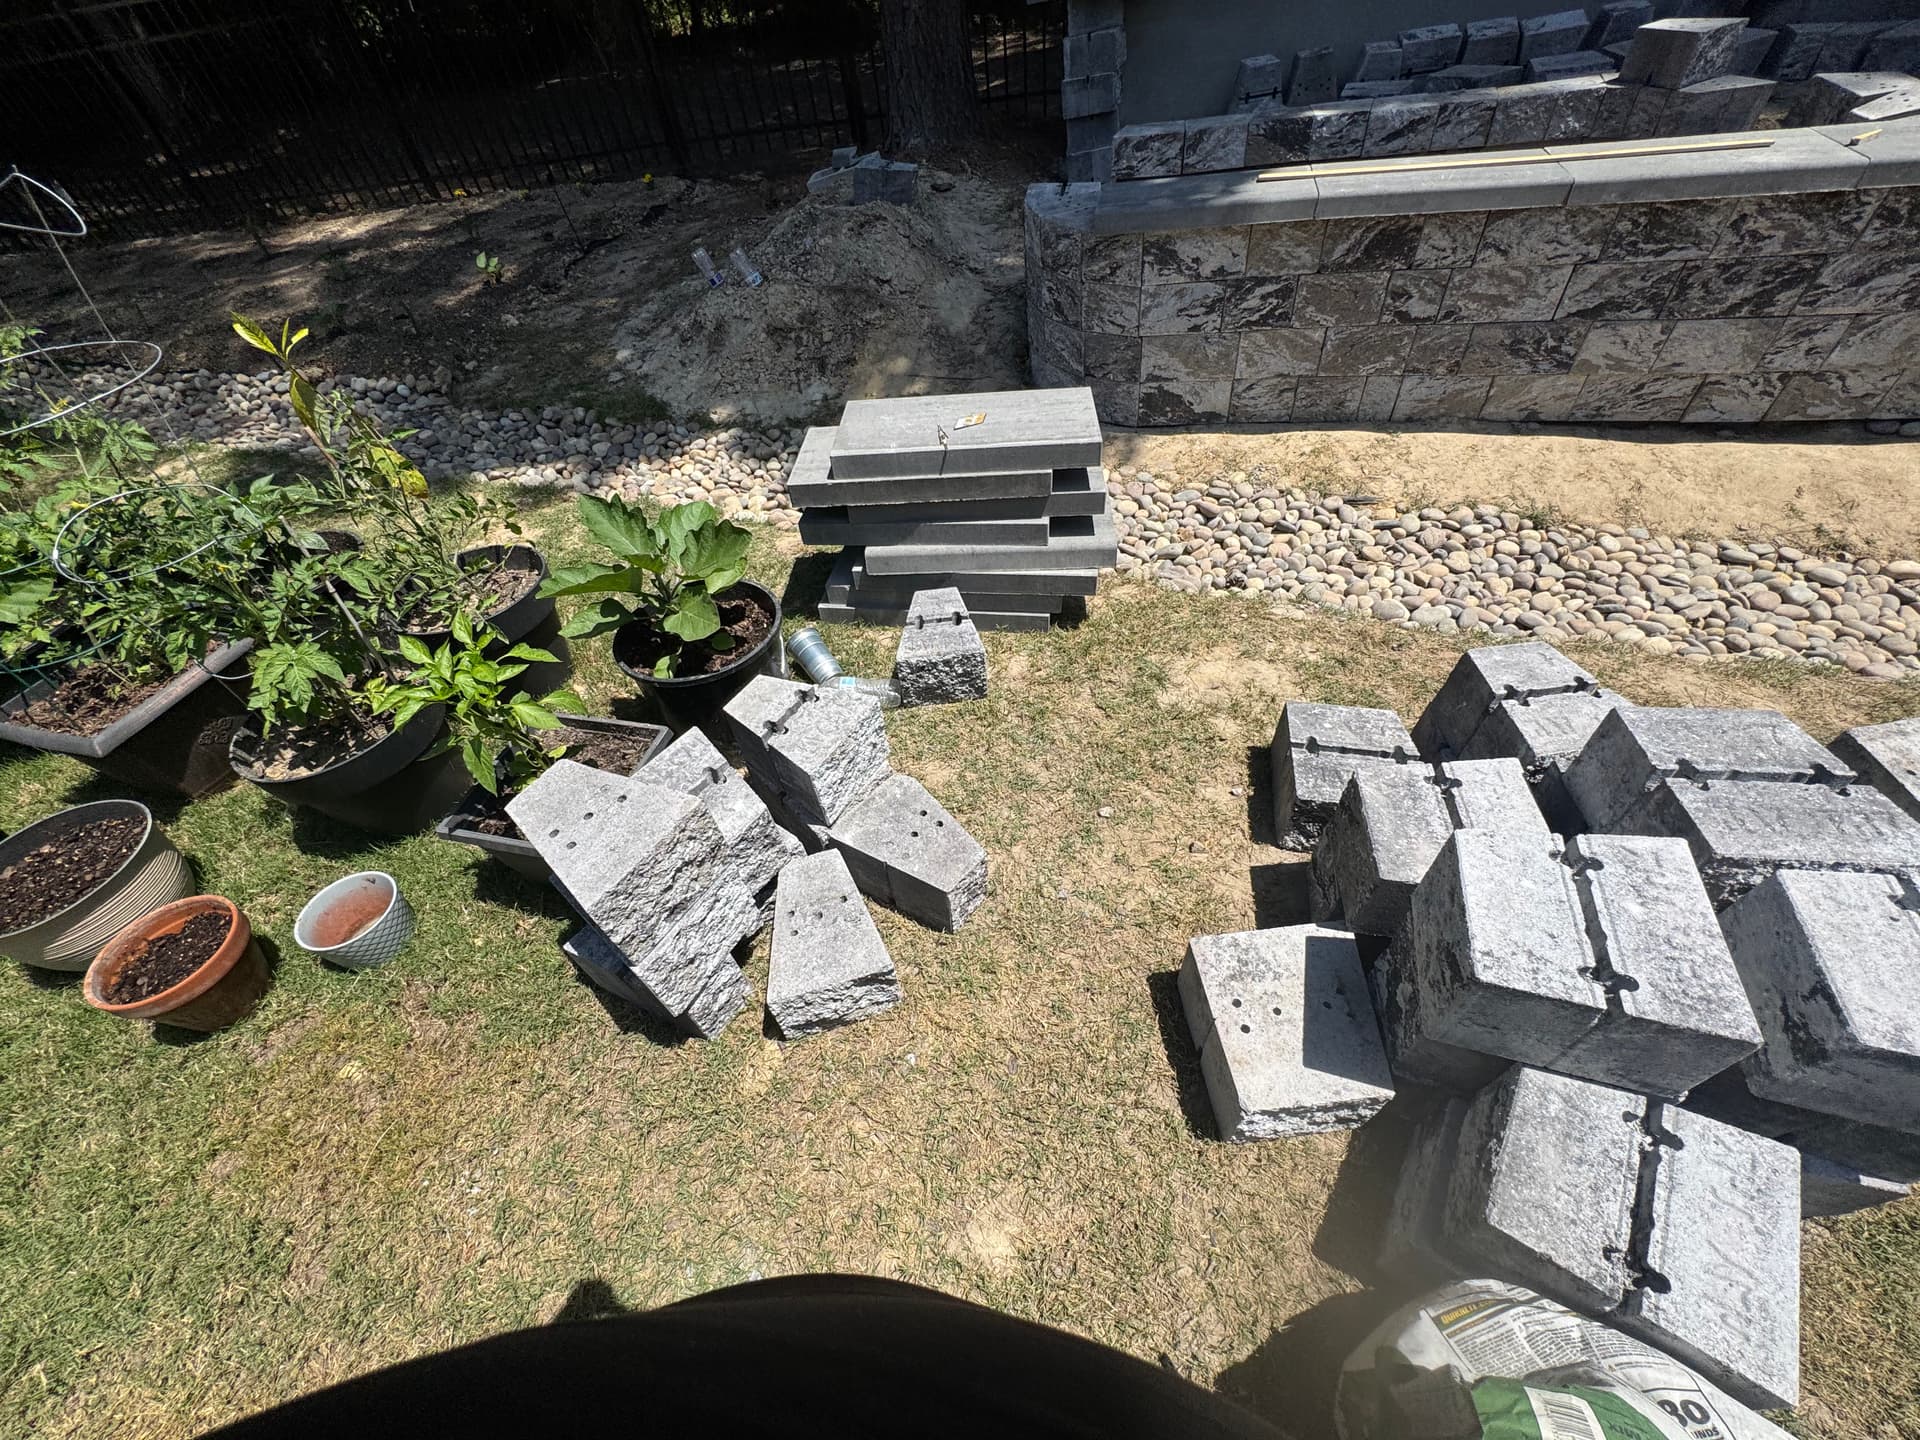
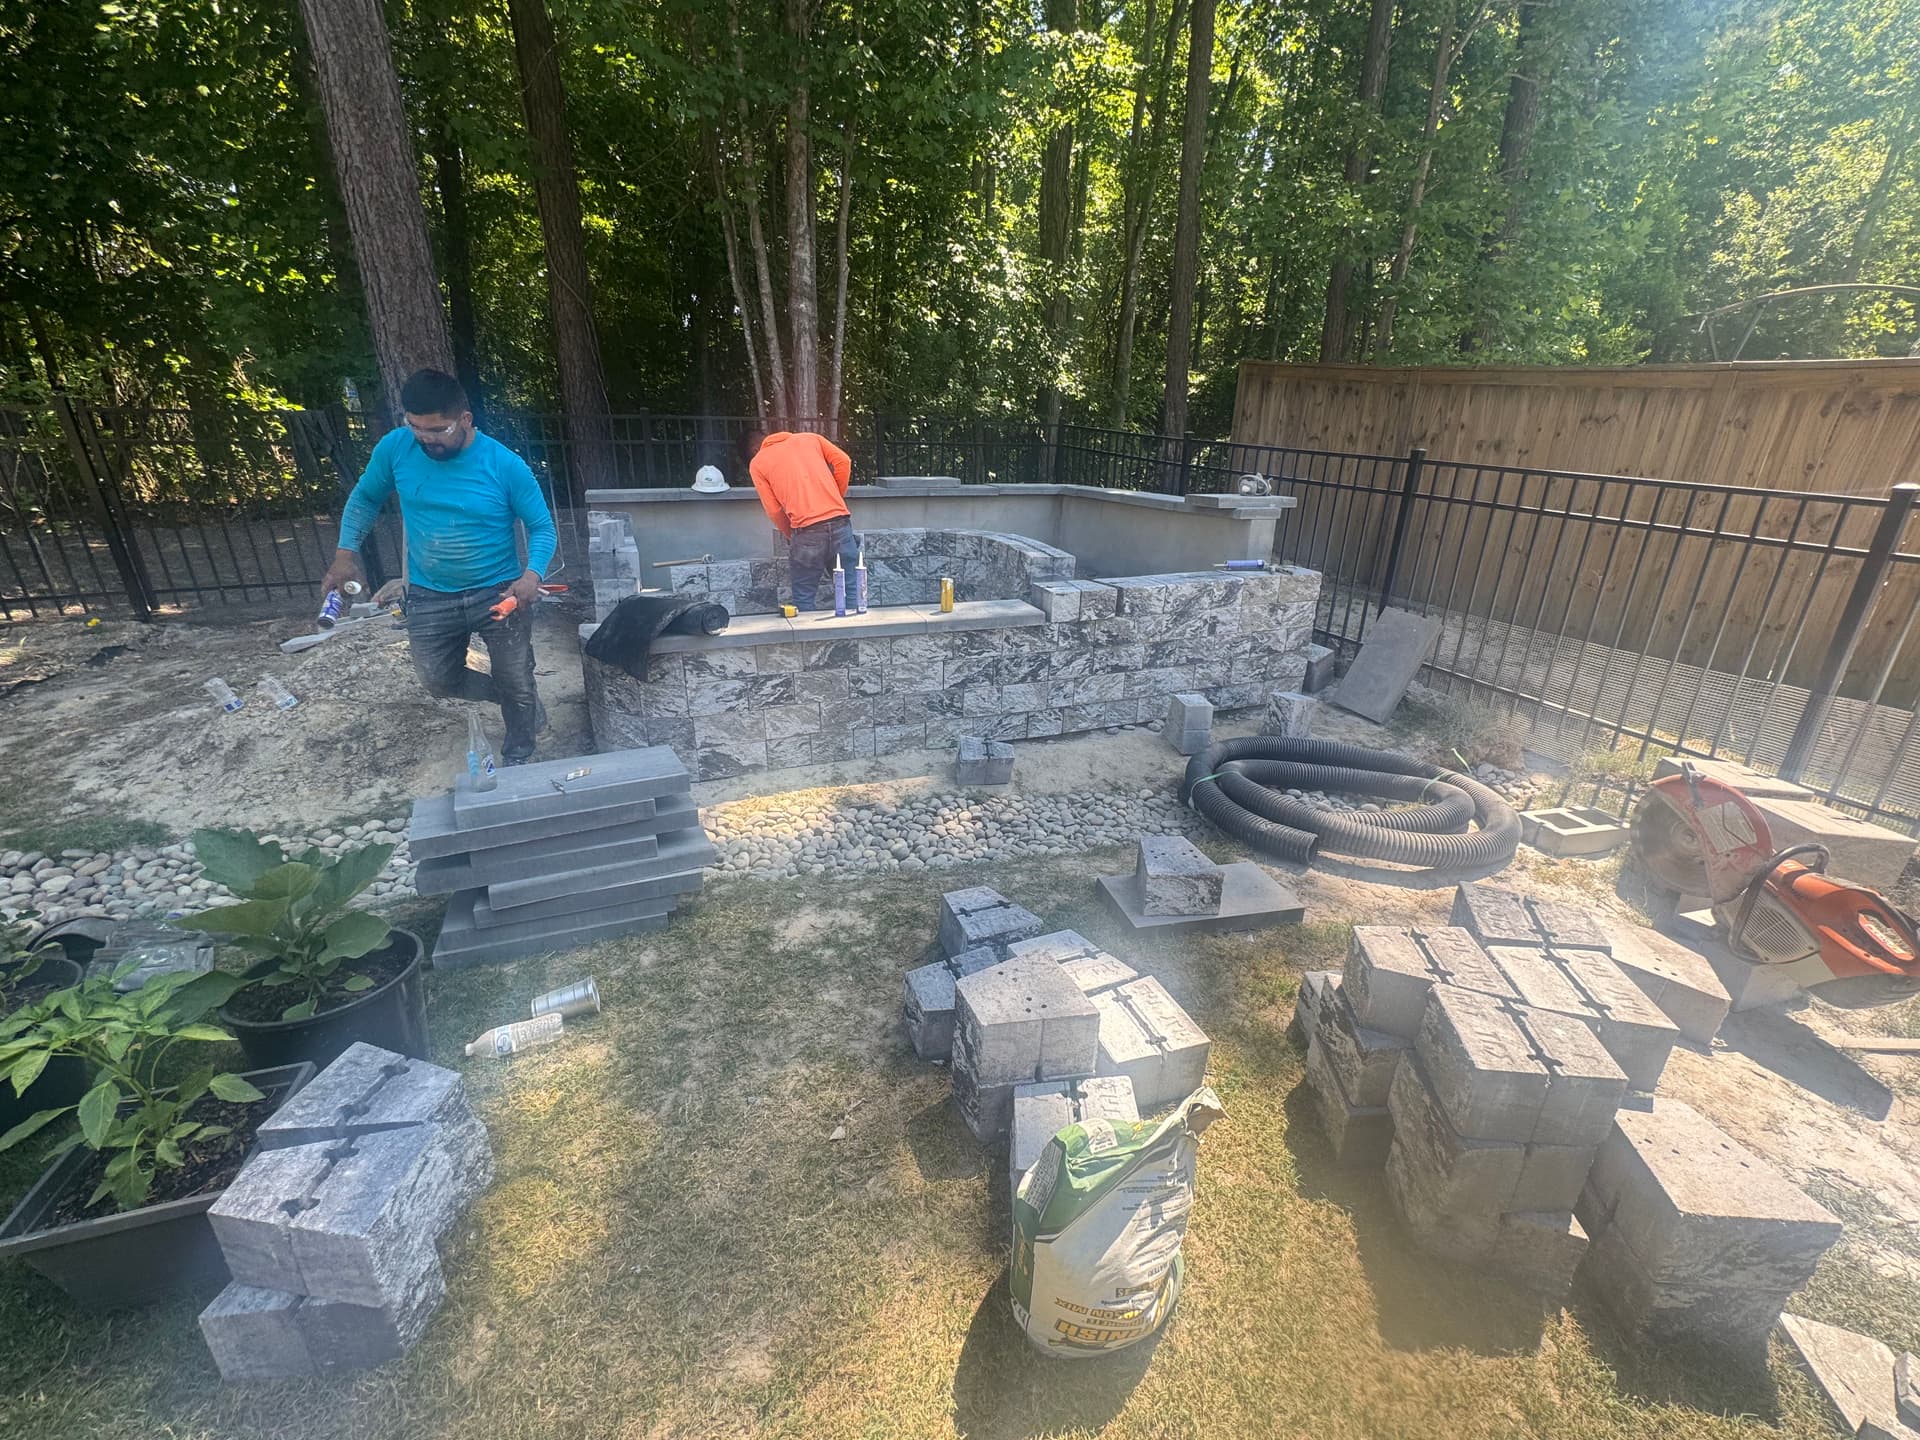
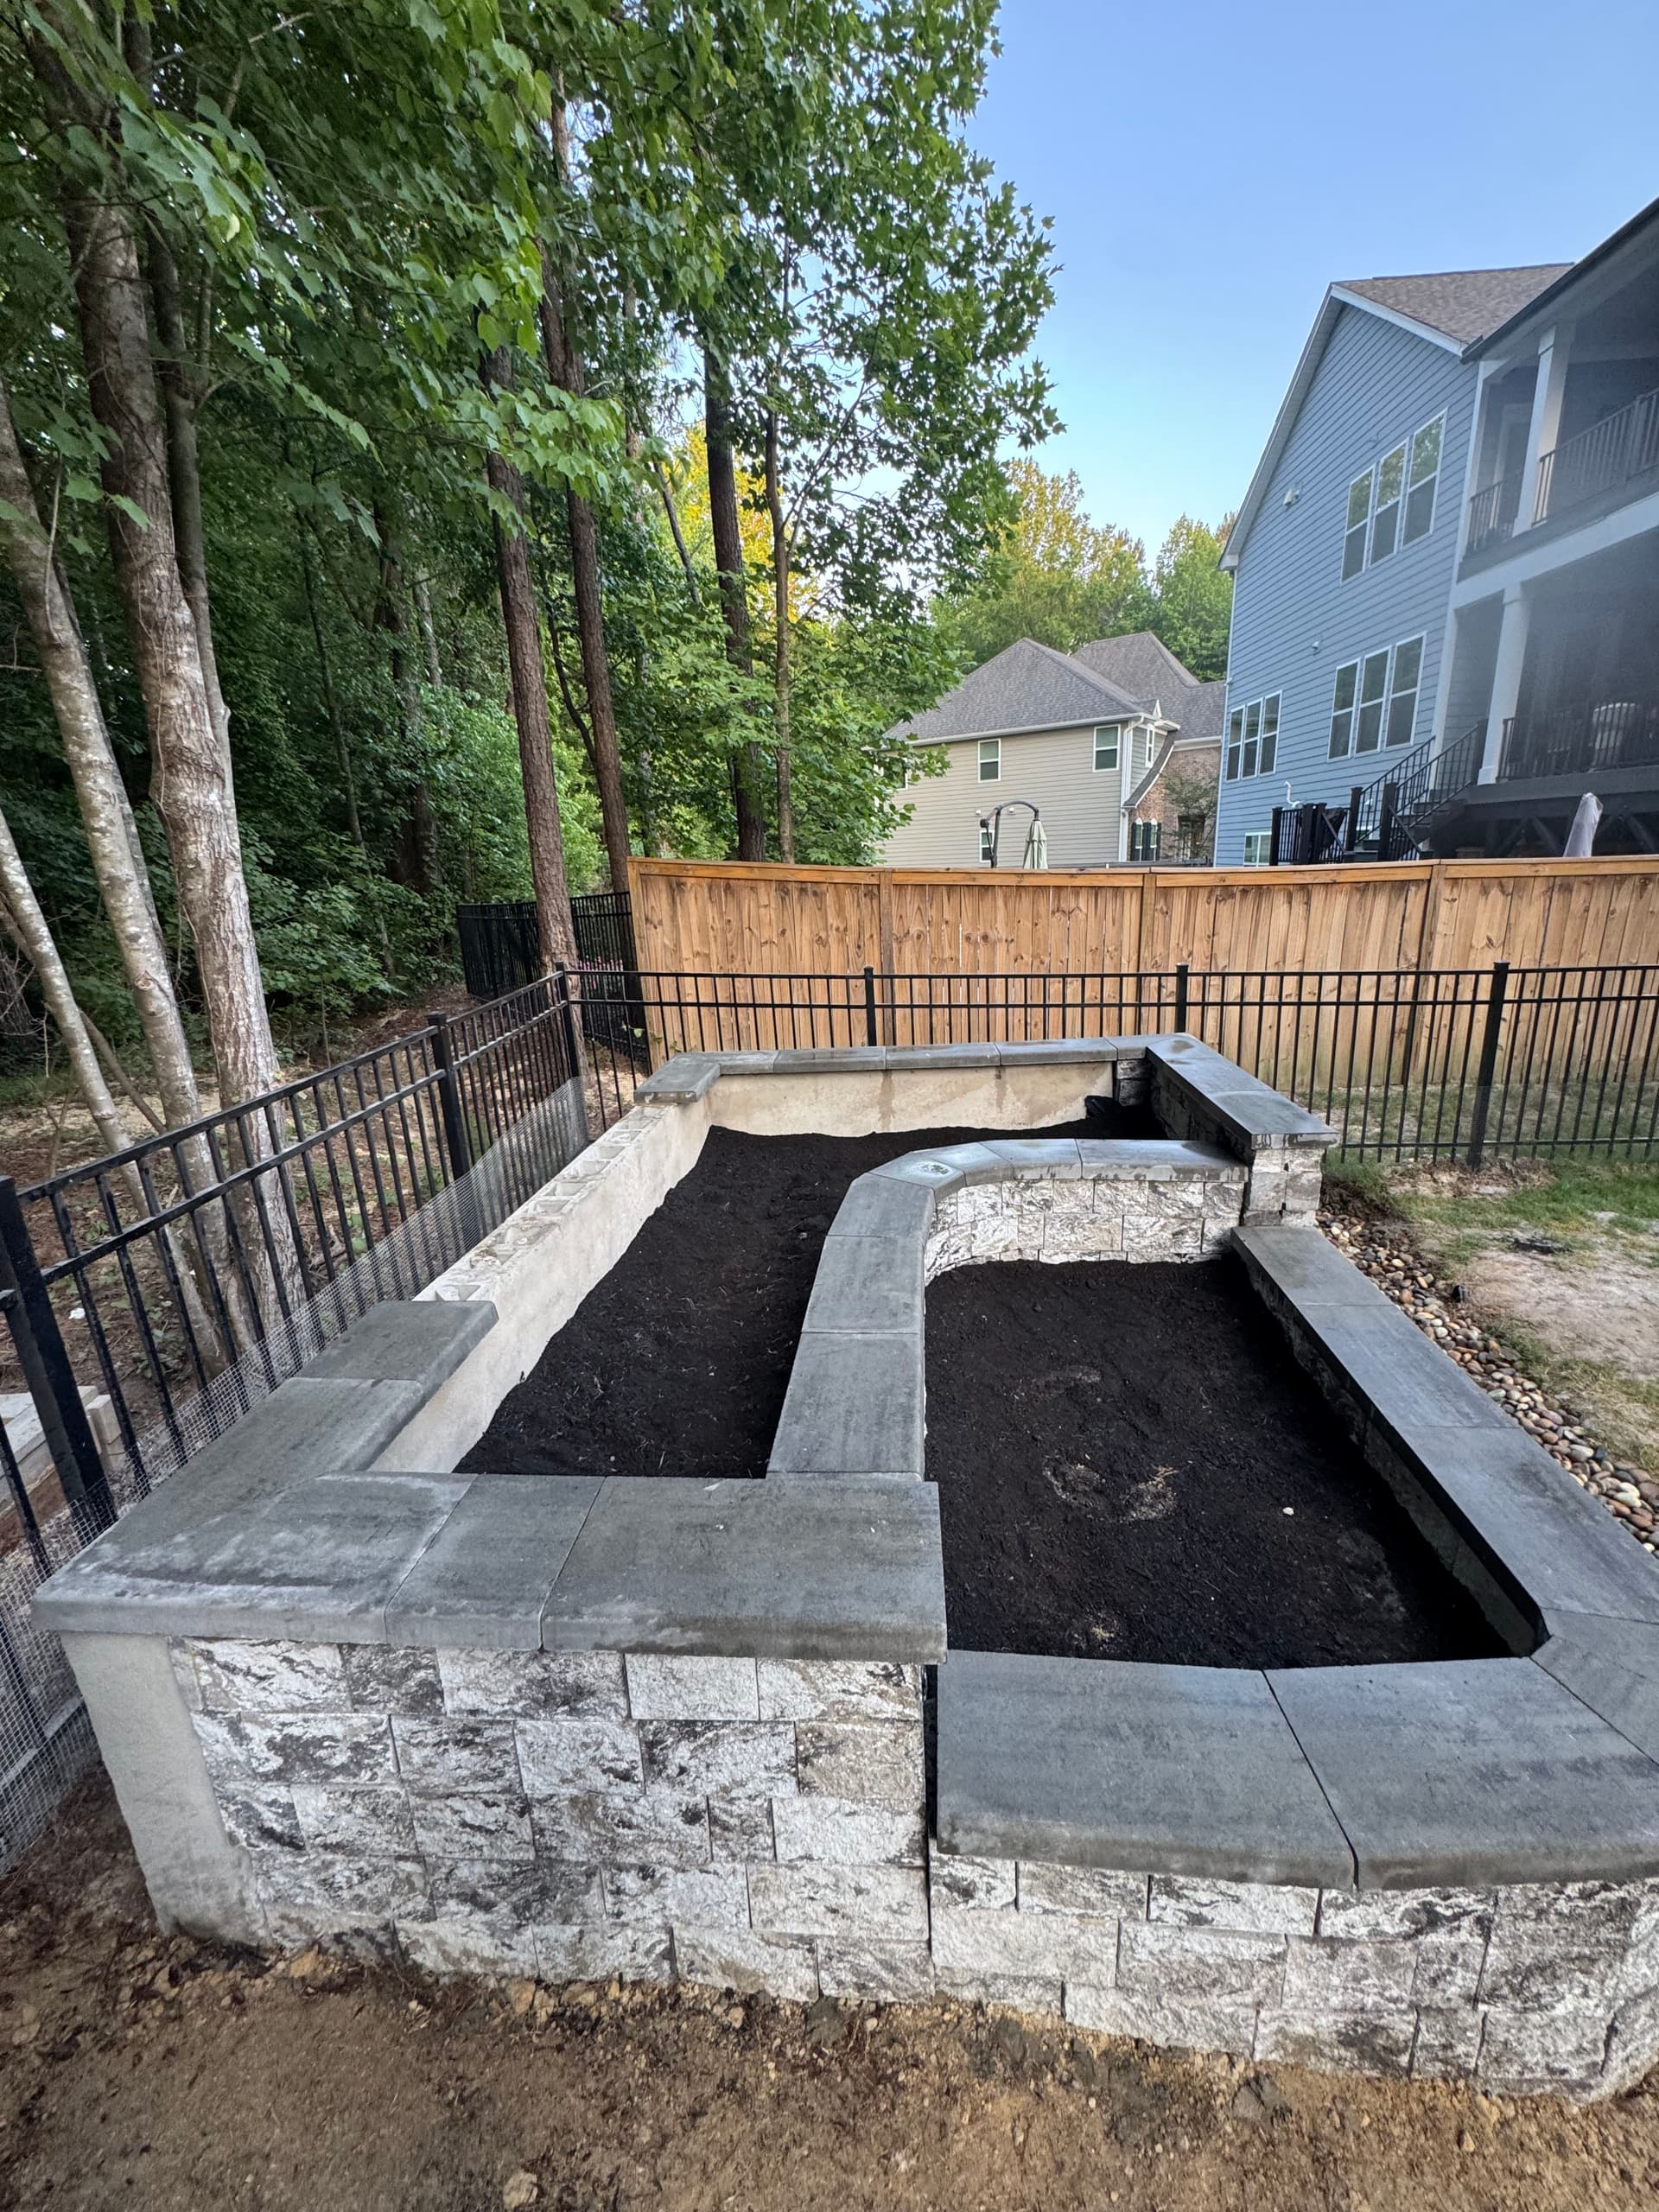
Here's what we were working with: a backyard with real potential but no dedicated growing space. The goal was to build a multi-section raised garden bed using concrete block as the core structure, stucco-coated walls on the back sections for added durability, and natural stone veneer on the front-facing walls for a clean, finished look. On top of that, capped stone ledges tie the whole thing together.
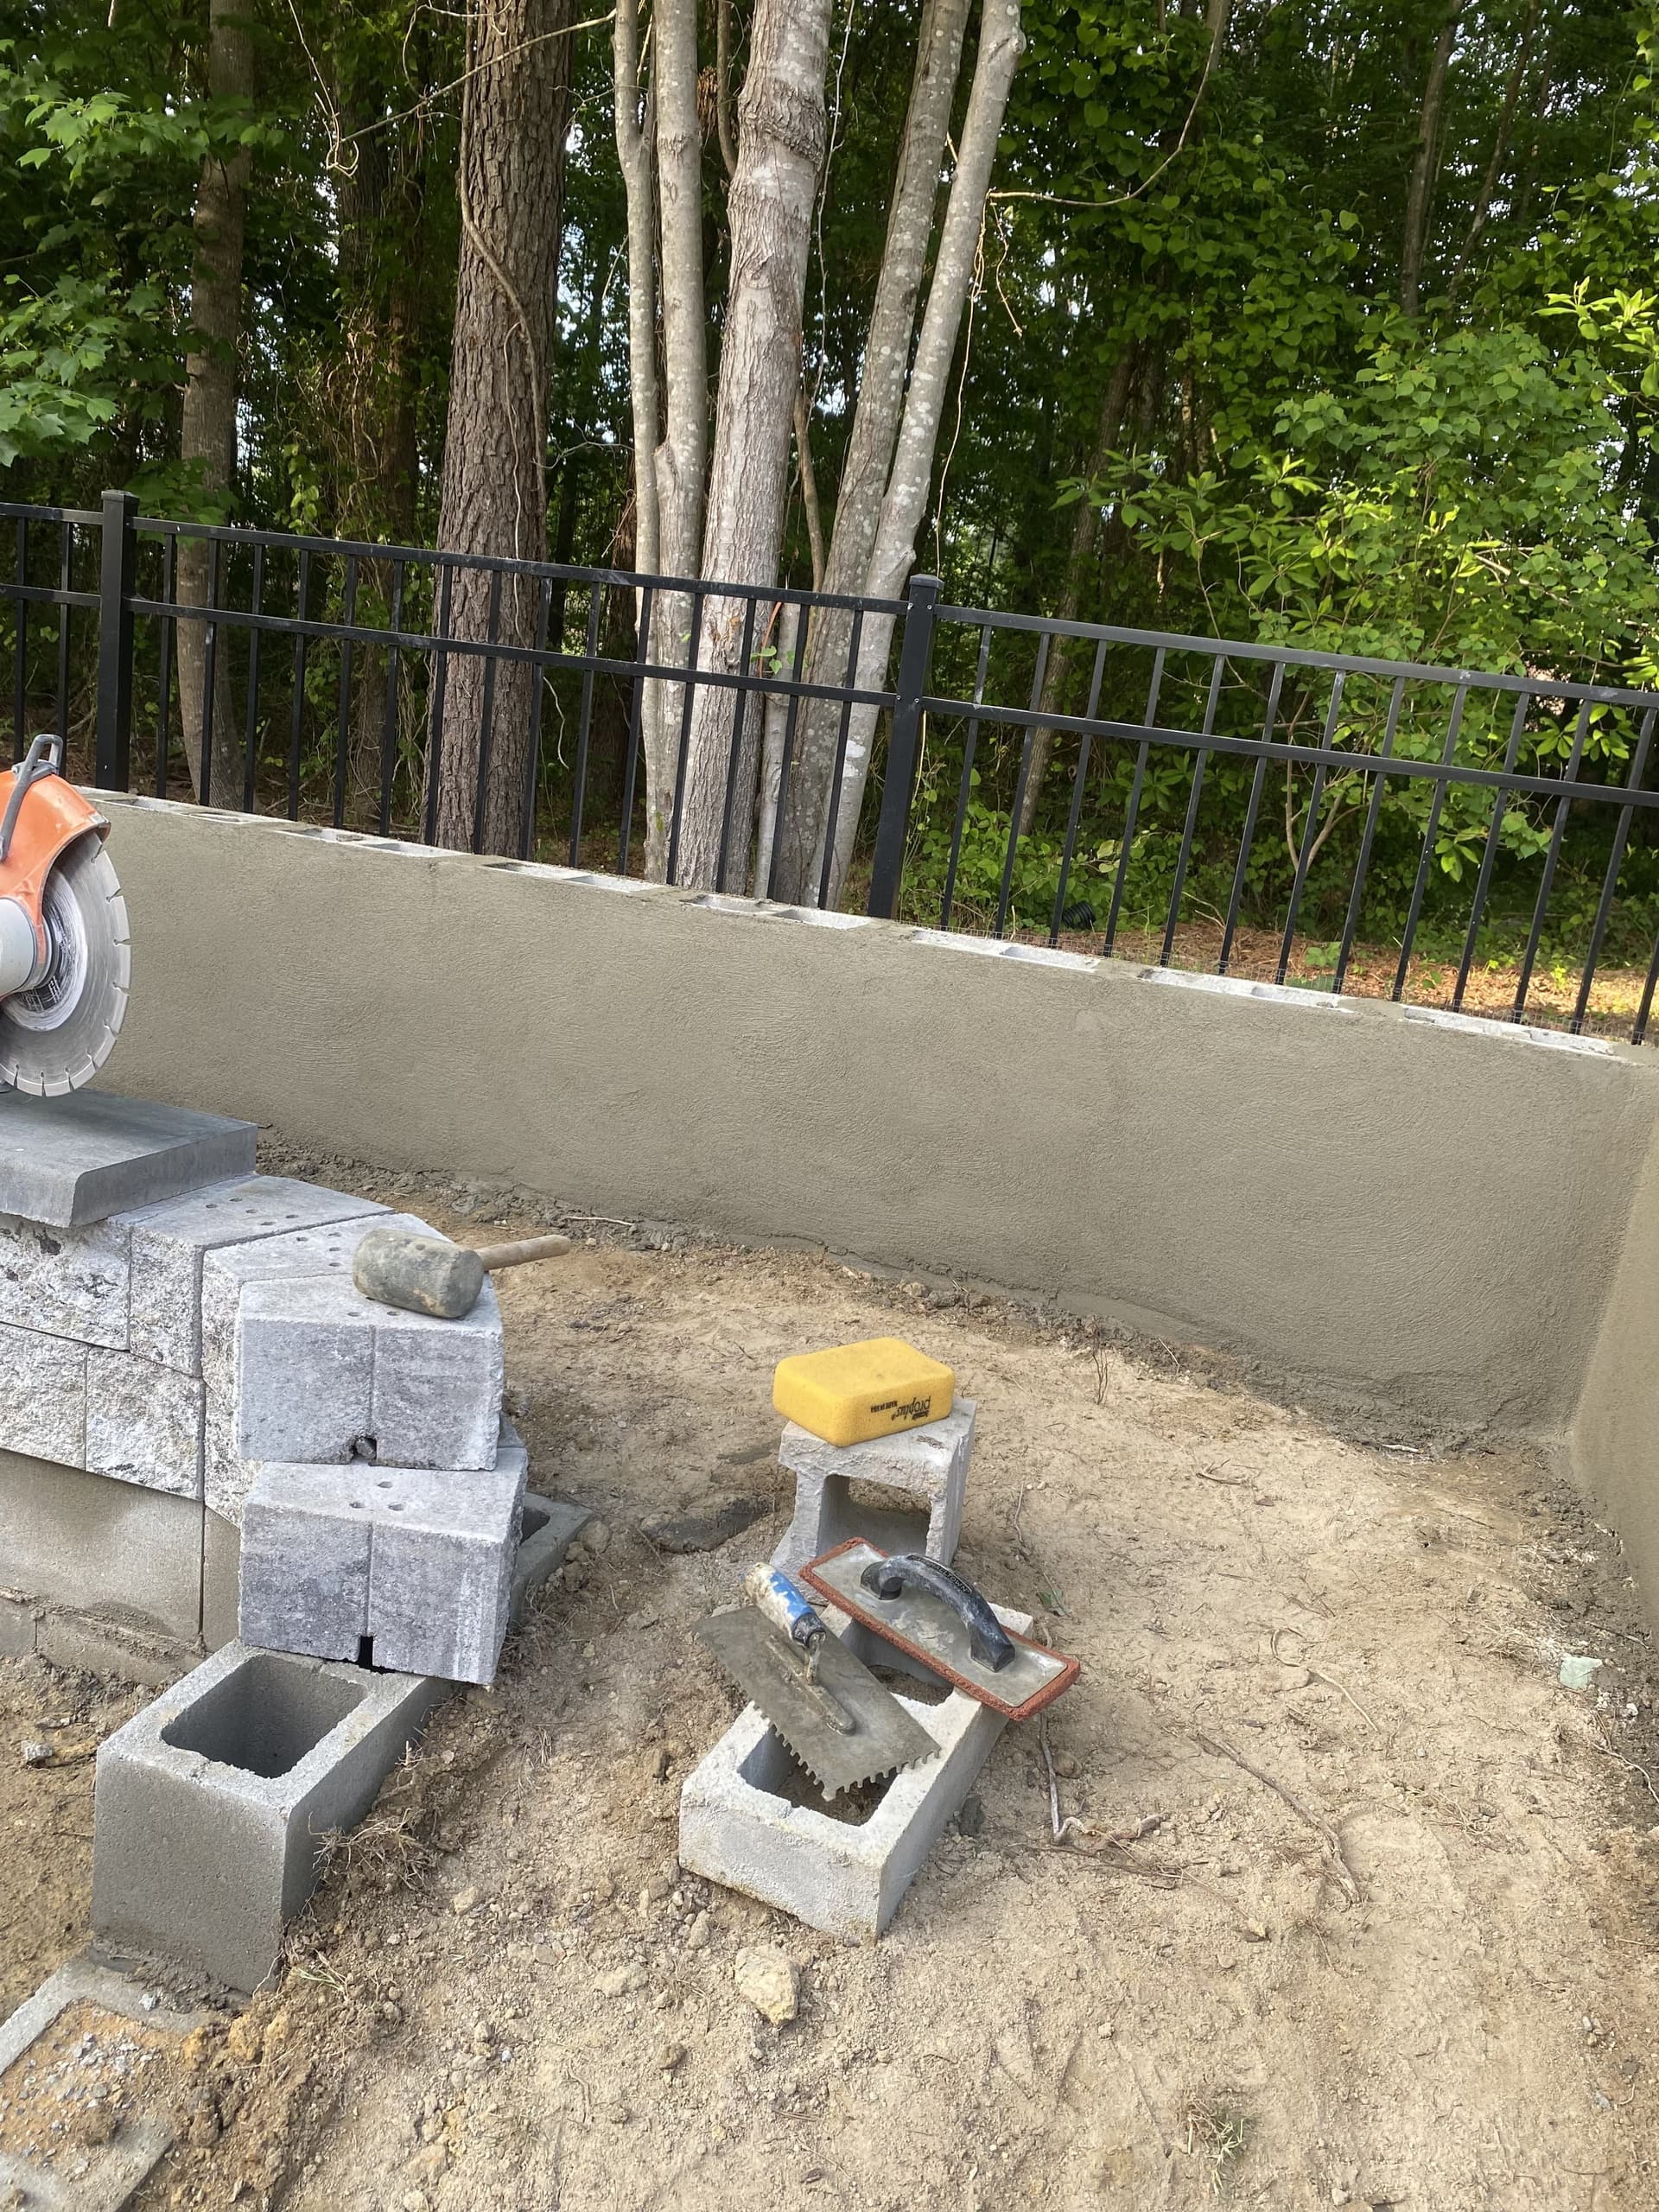
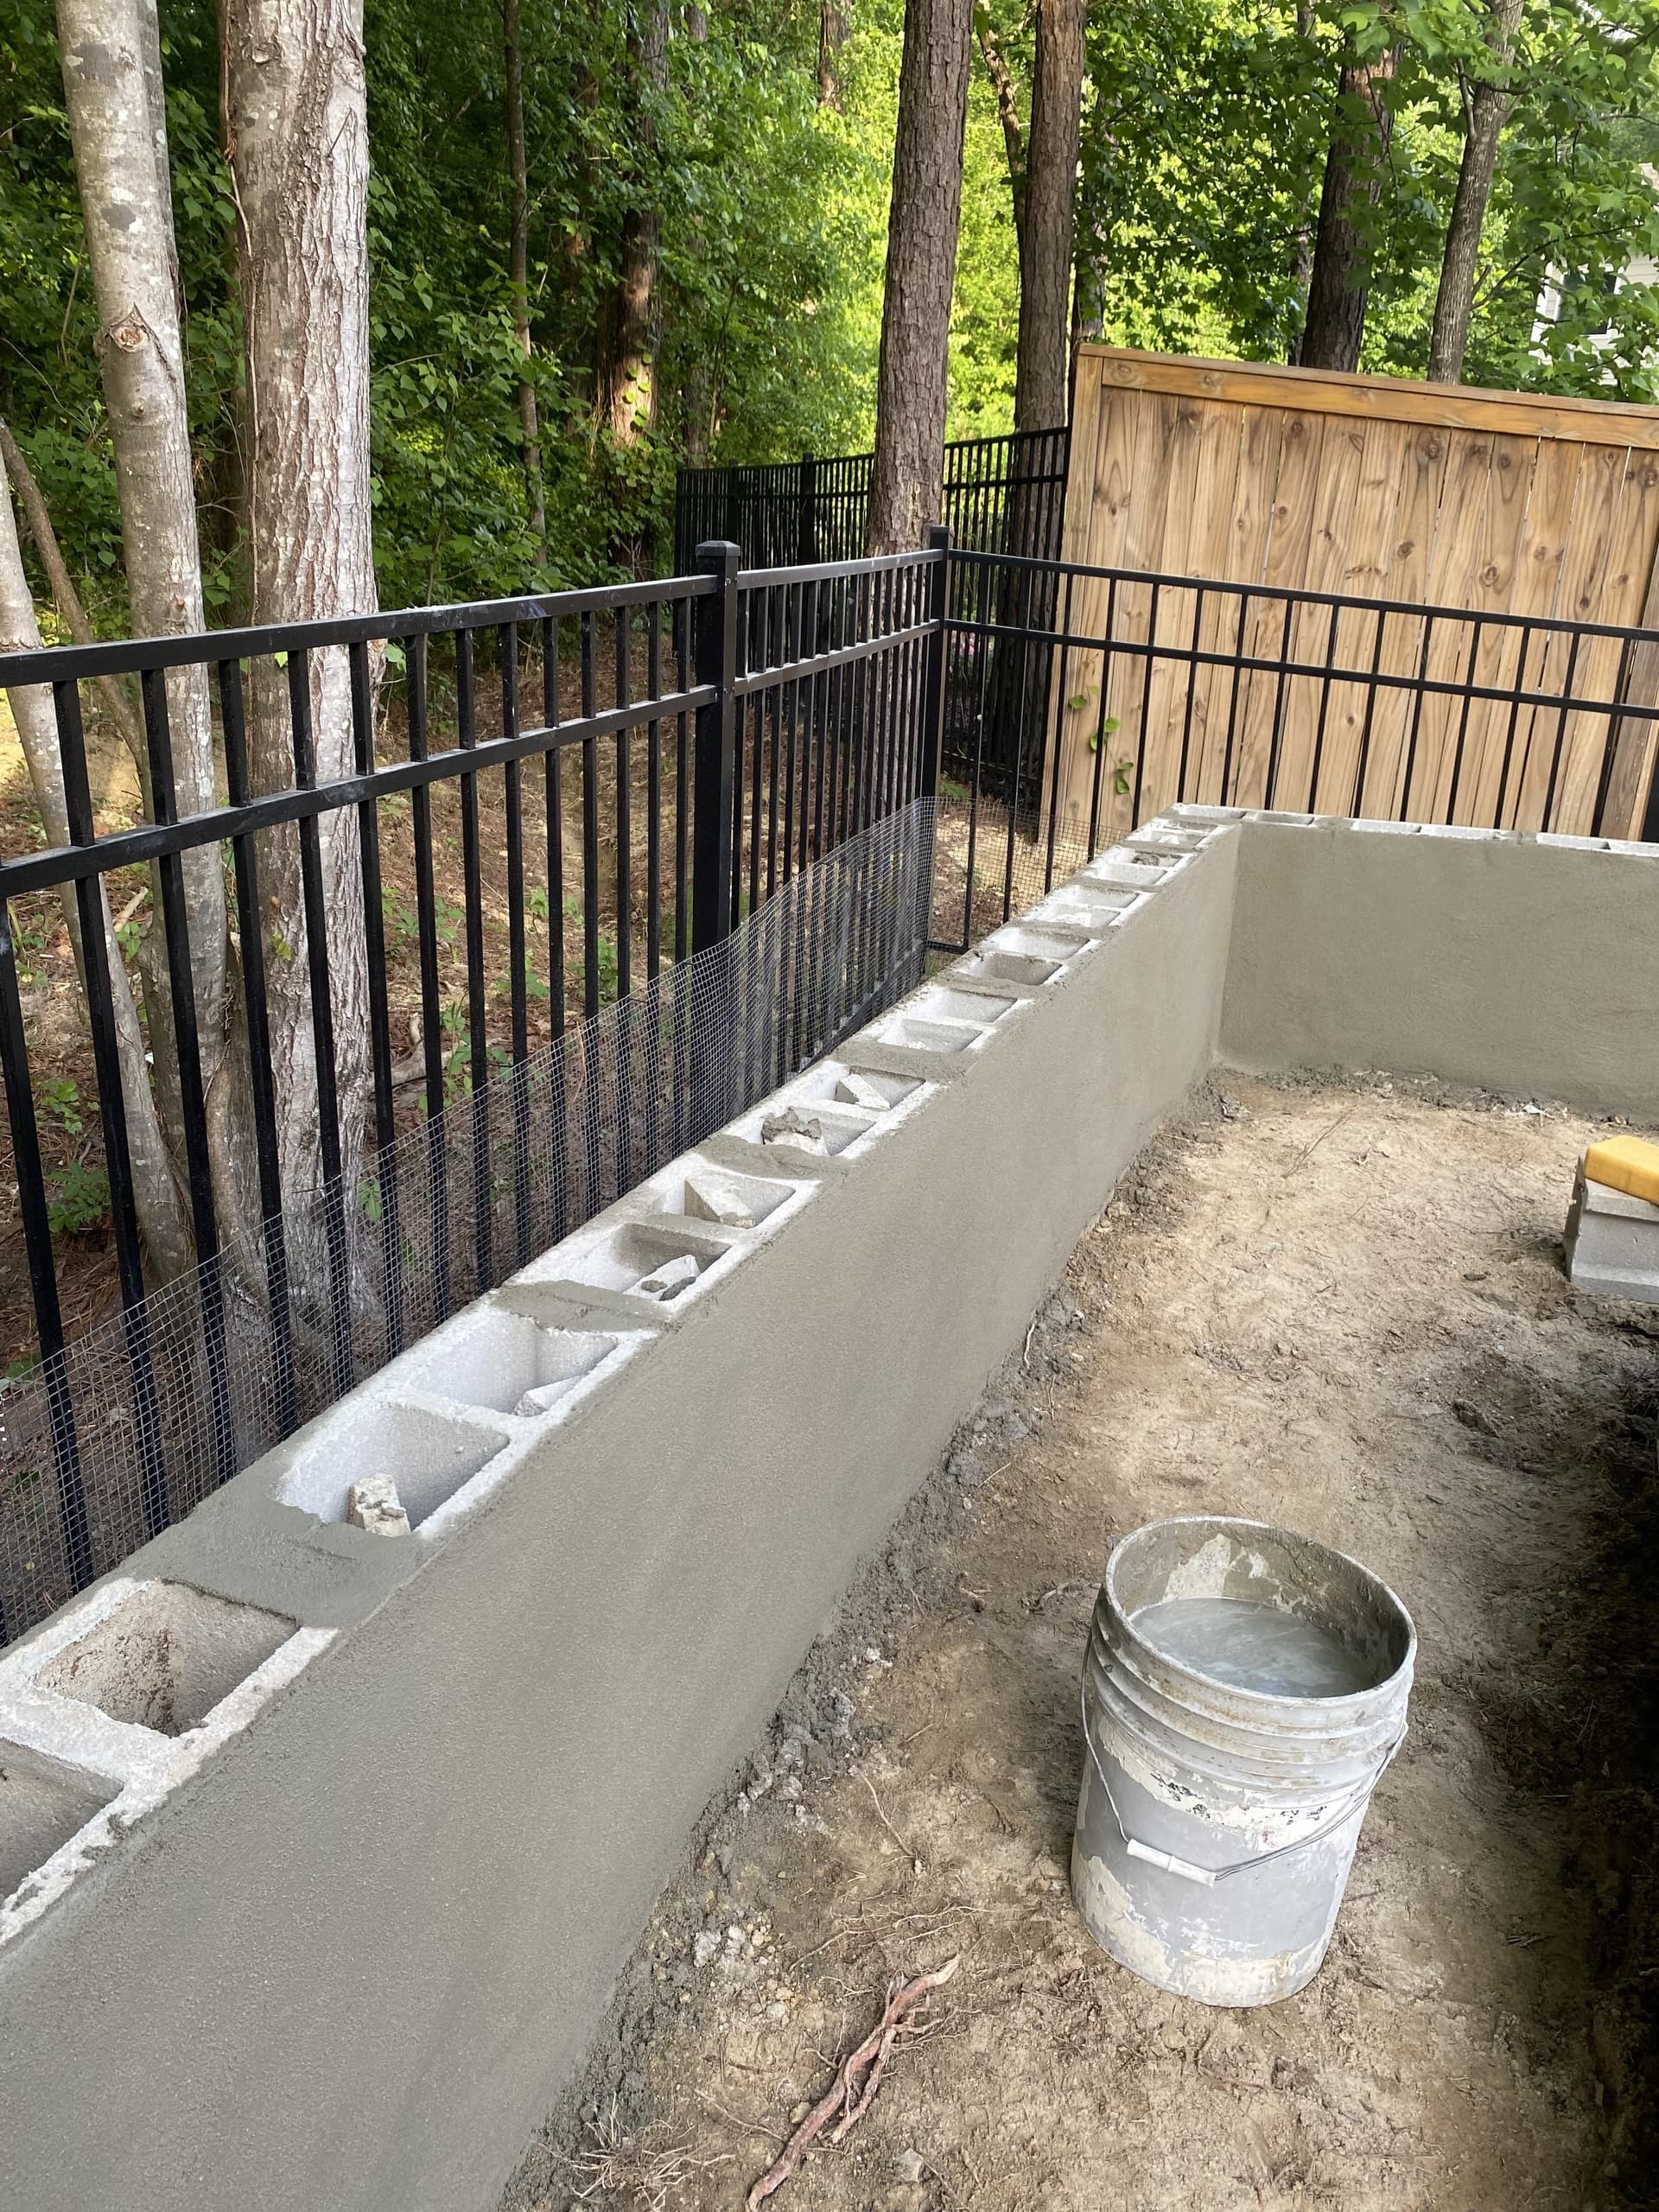
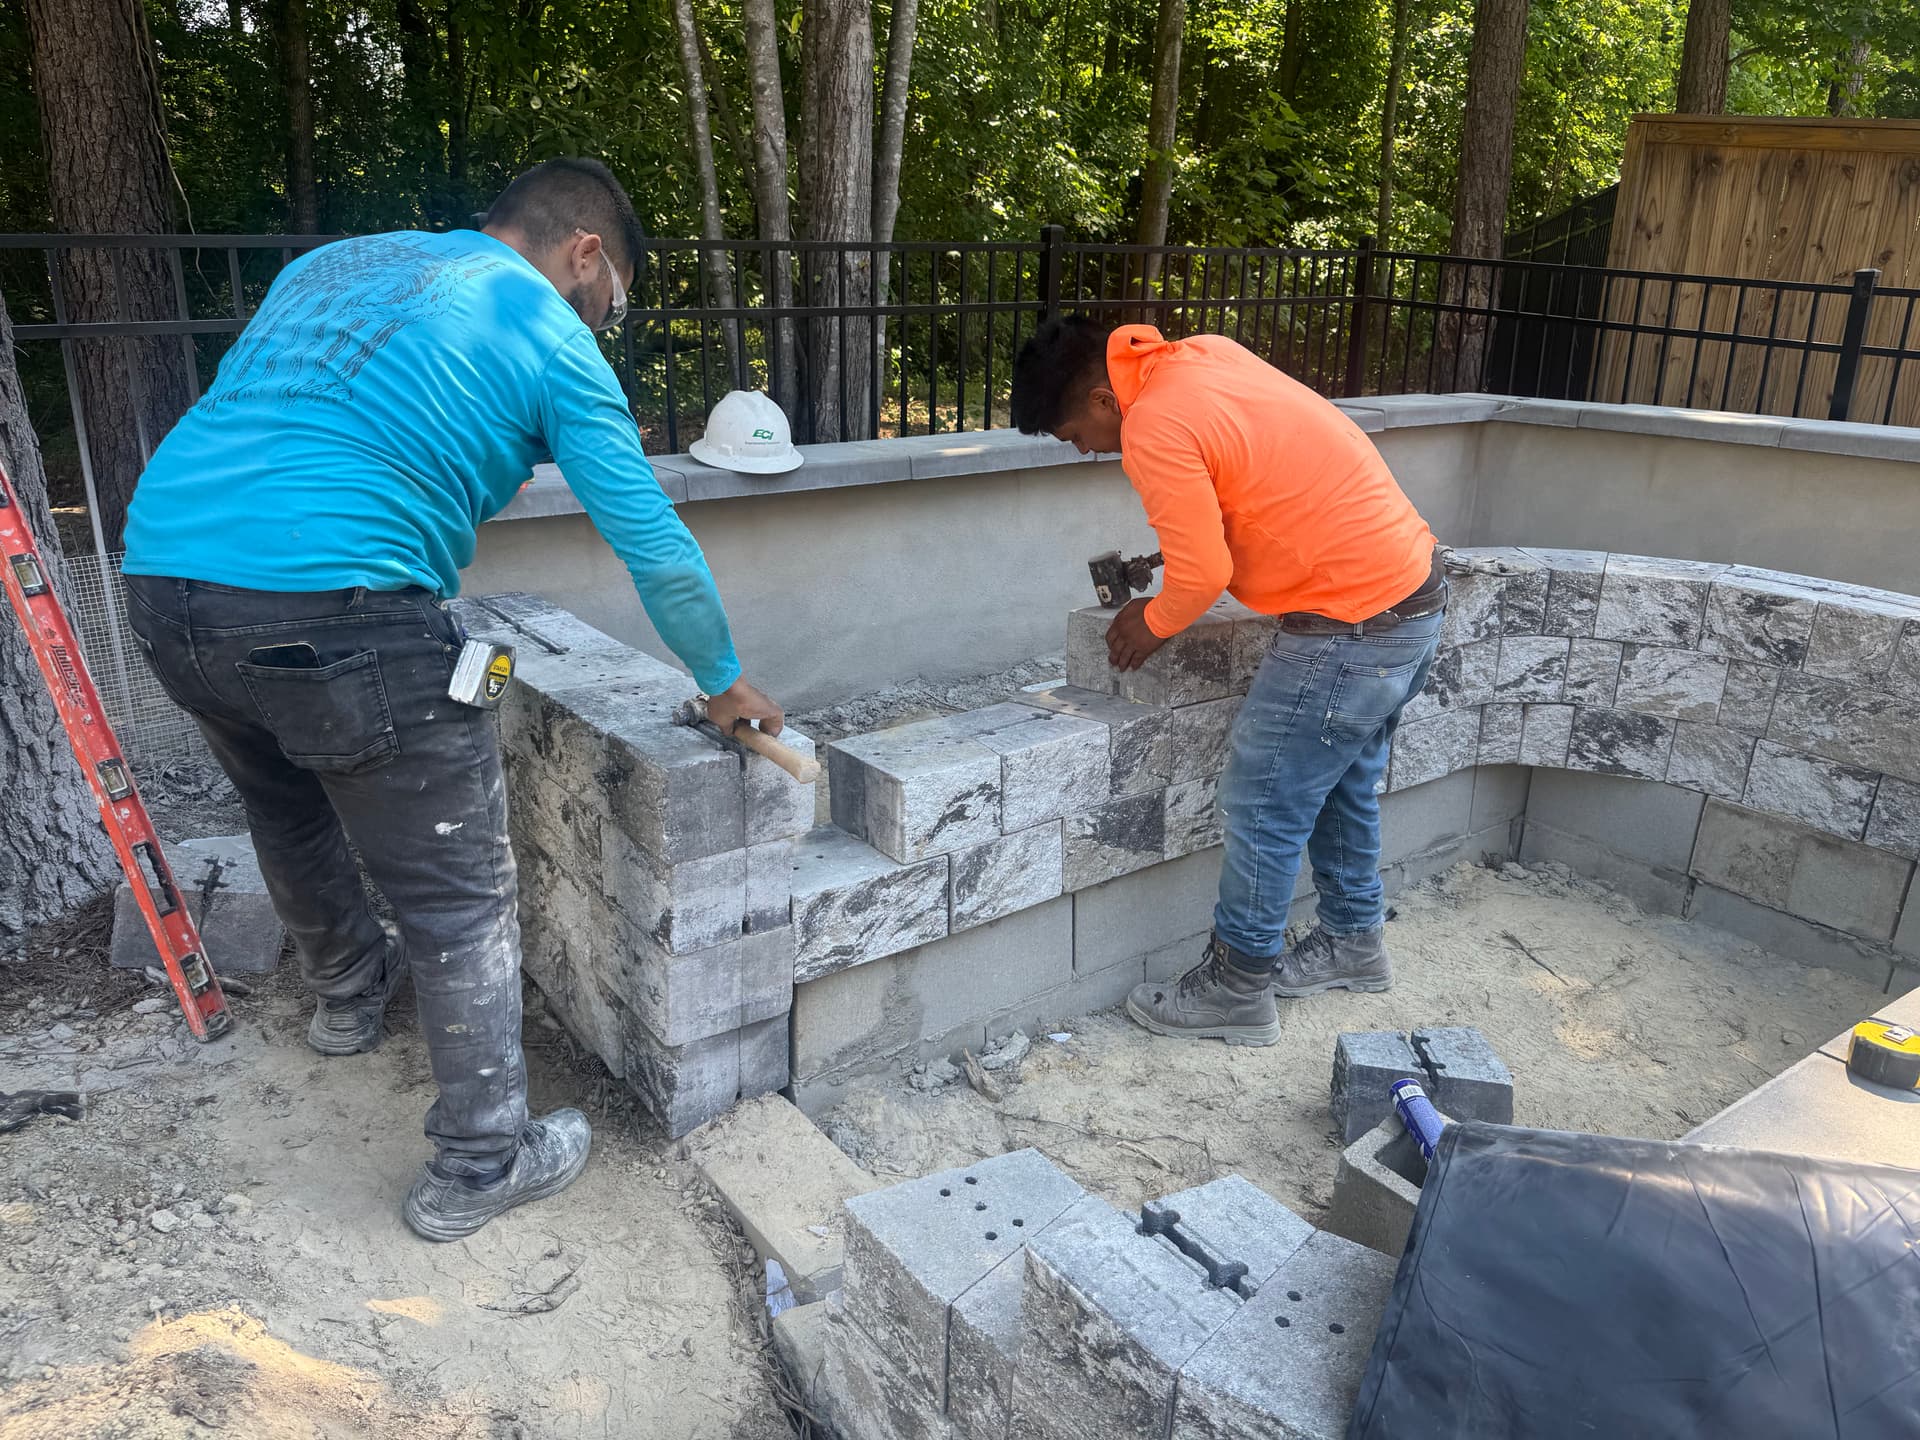
We started from the ground up. The block walls went up in courses, leveled row by row. A diamond blade saw was used to cut the stone veneer pieces to fit tight against every corner and transition. Nothing was rushed. Every course was set and checked before the next one went down. That kind of attention early in the build is what keeps everything plumb and solid long-term.
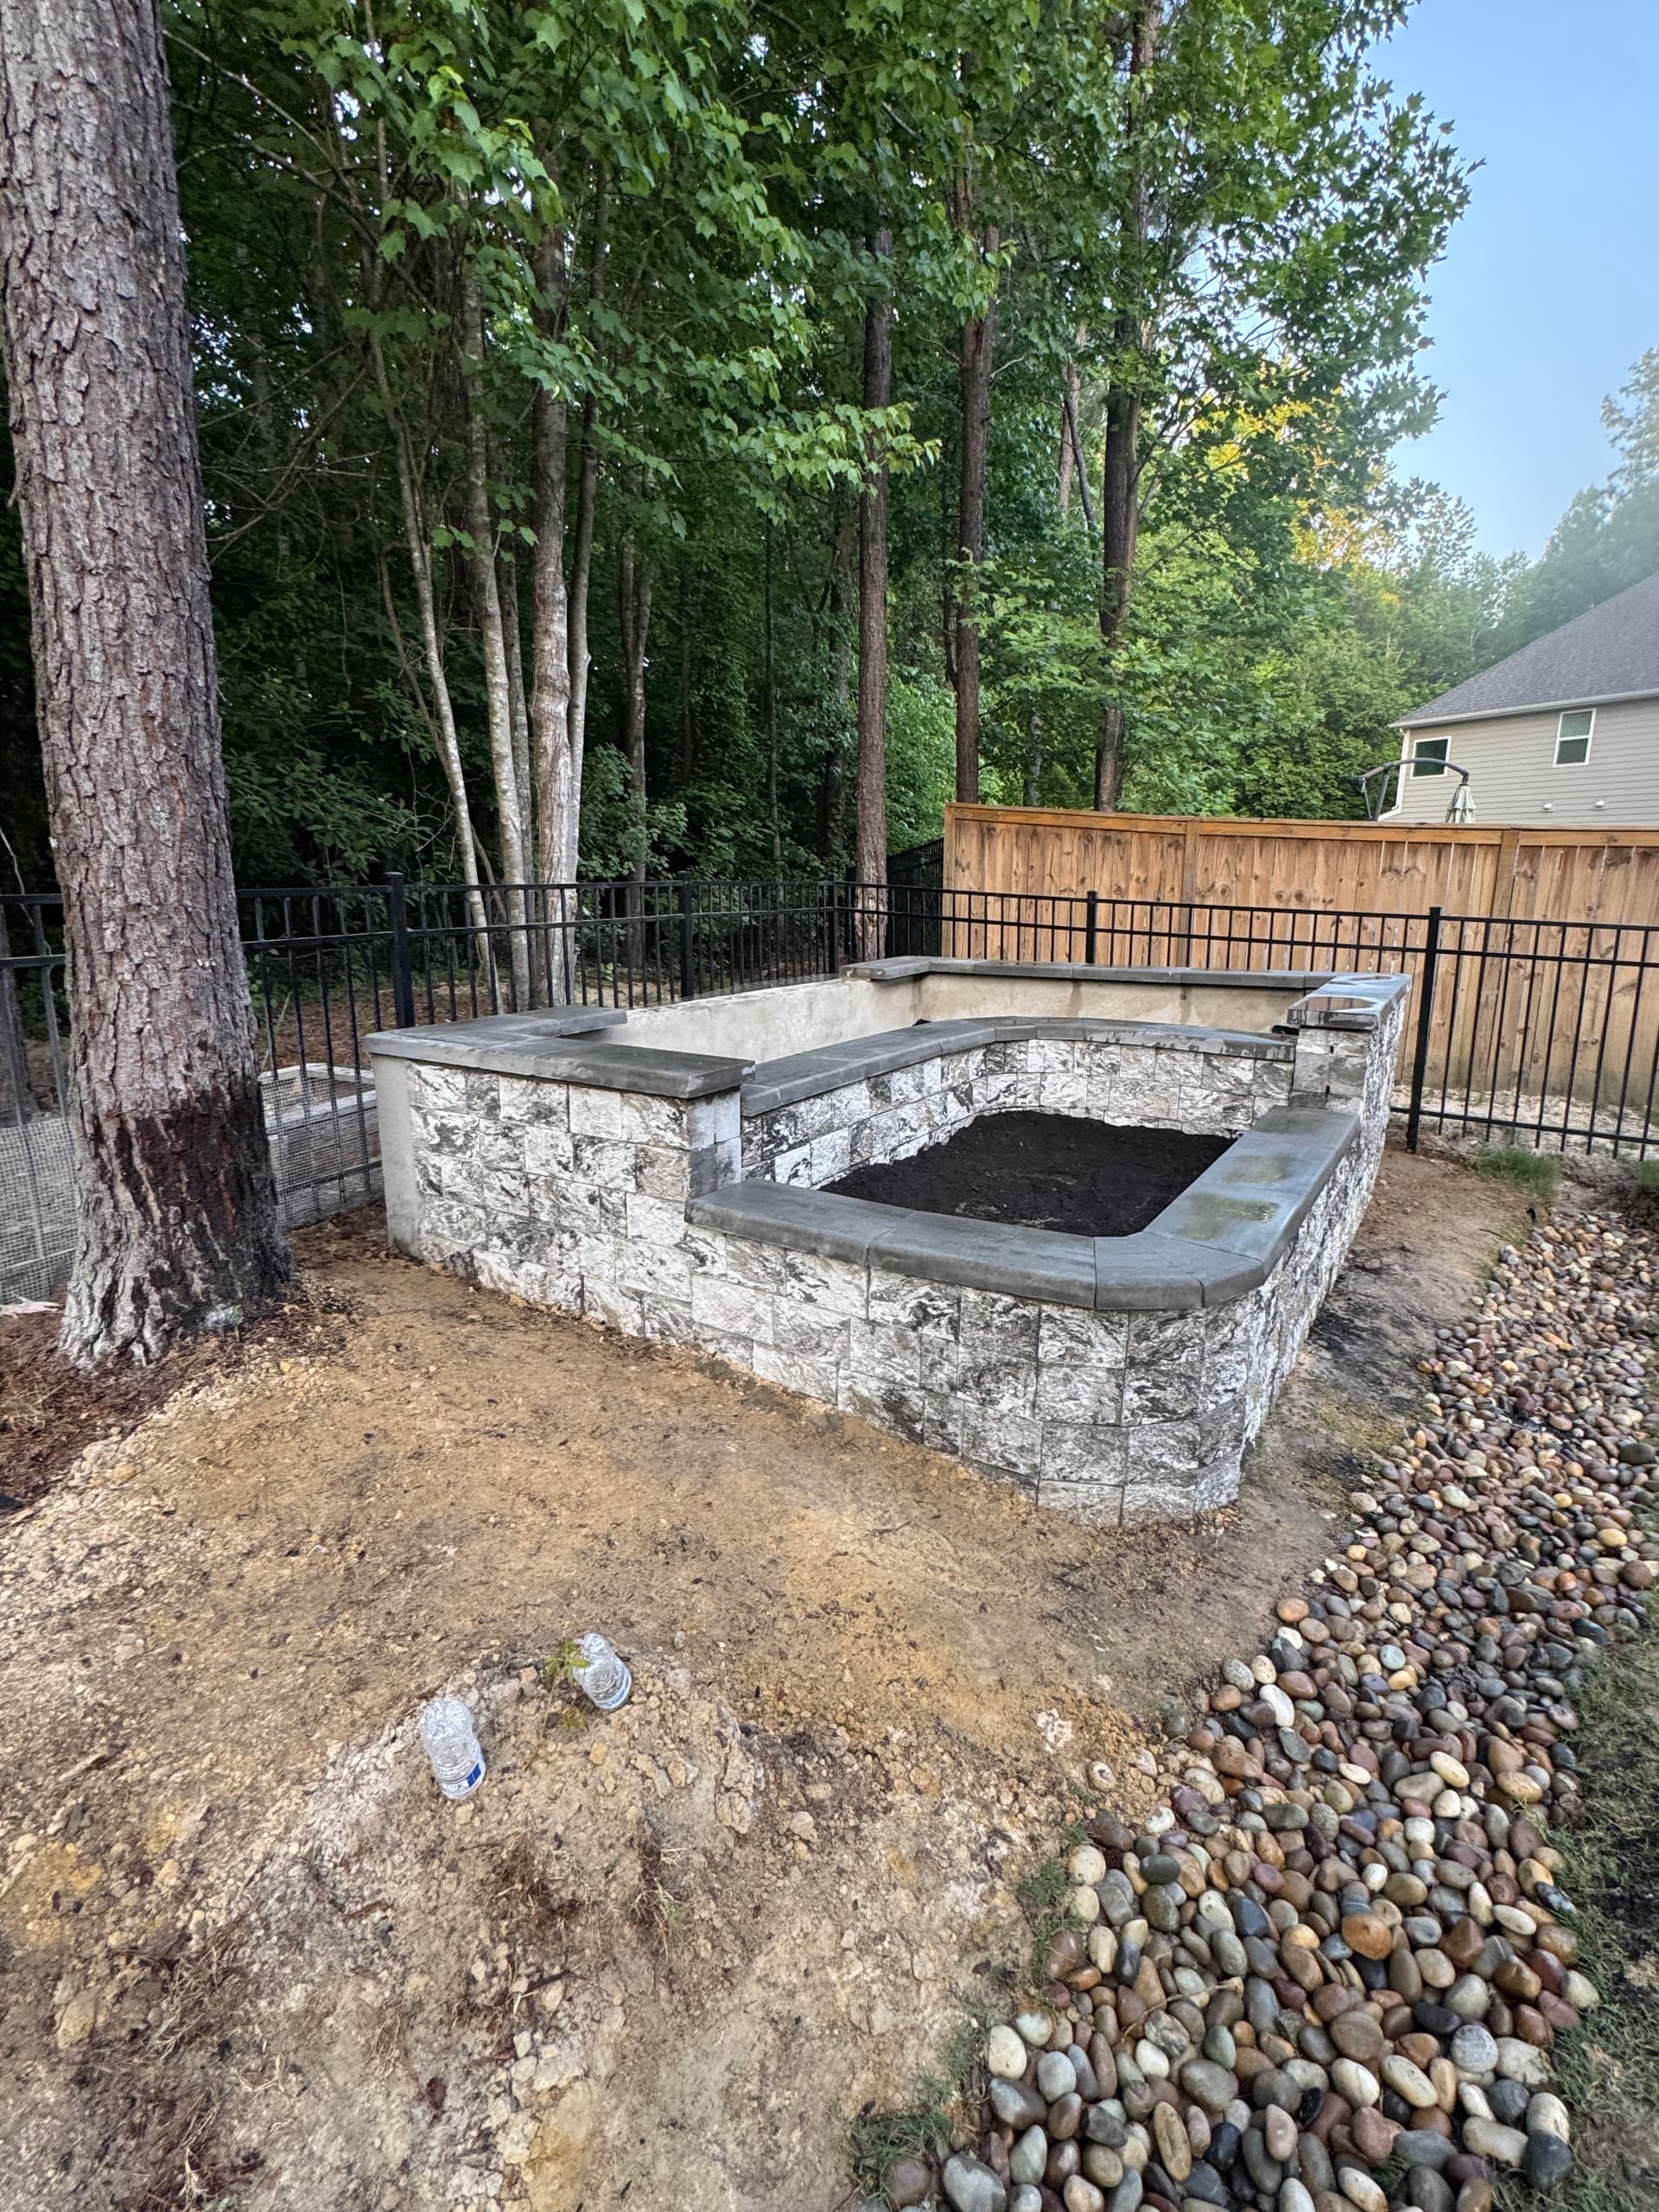
The finished result is a true multi-zone planting layout. There are separate deep sections filled with fresh black soil - ready for herbs, vegetables, or whatever the homeowner wants to grow. The taller back wall creates a tiered effect, and the stone cap ledge doubles as a place to set tools or just sit while you're out tending the garden. It's functional and it looks sharp.
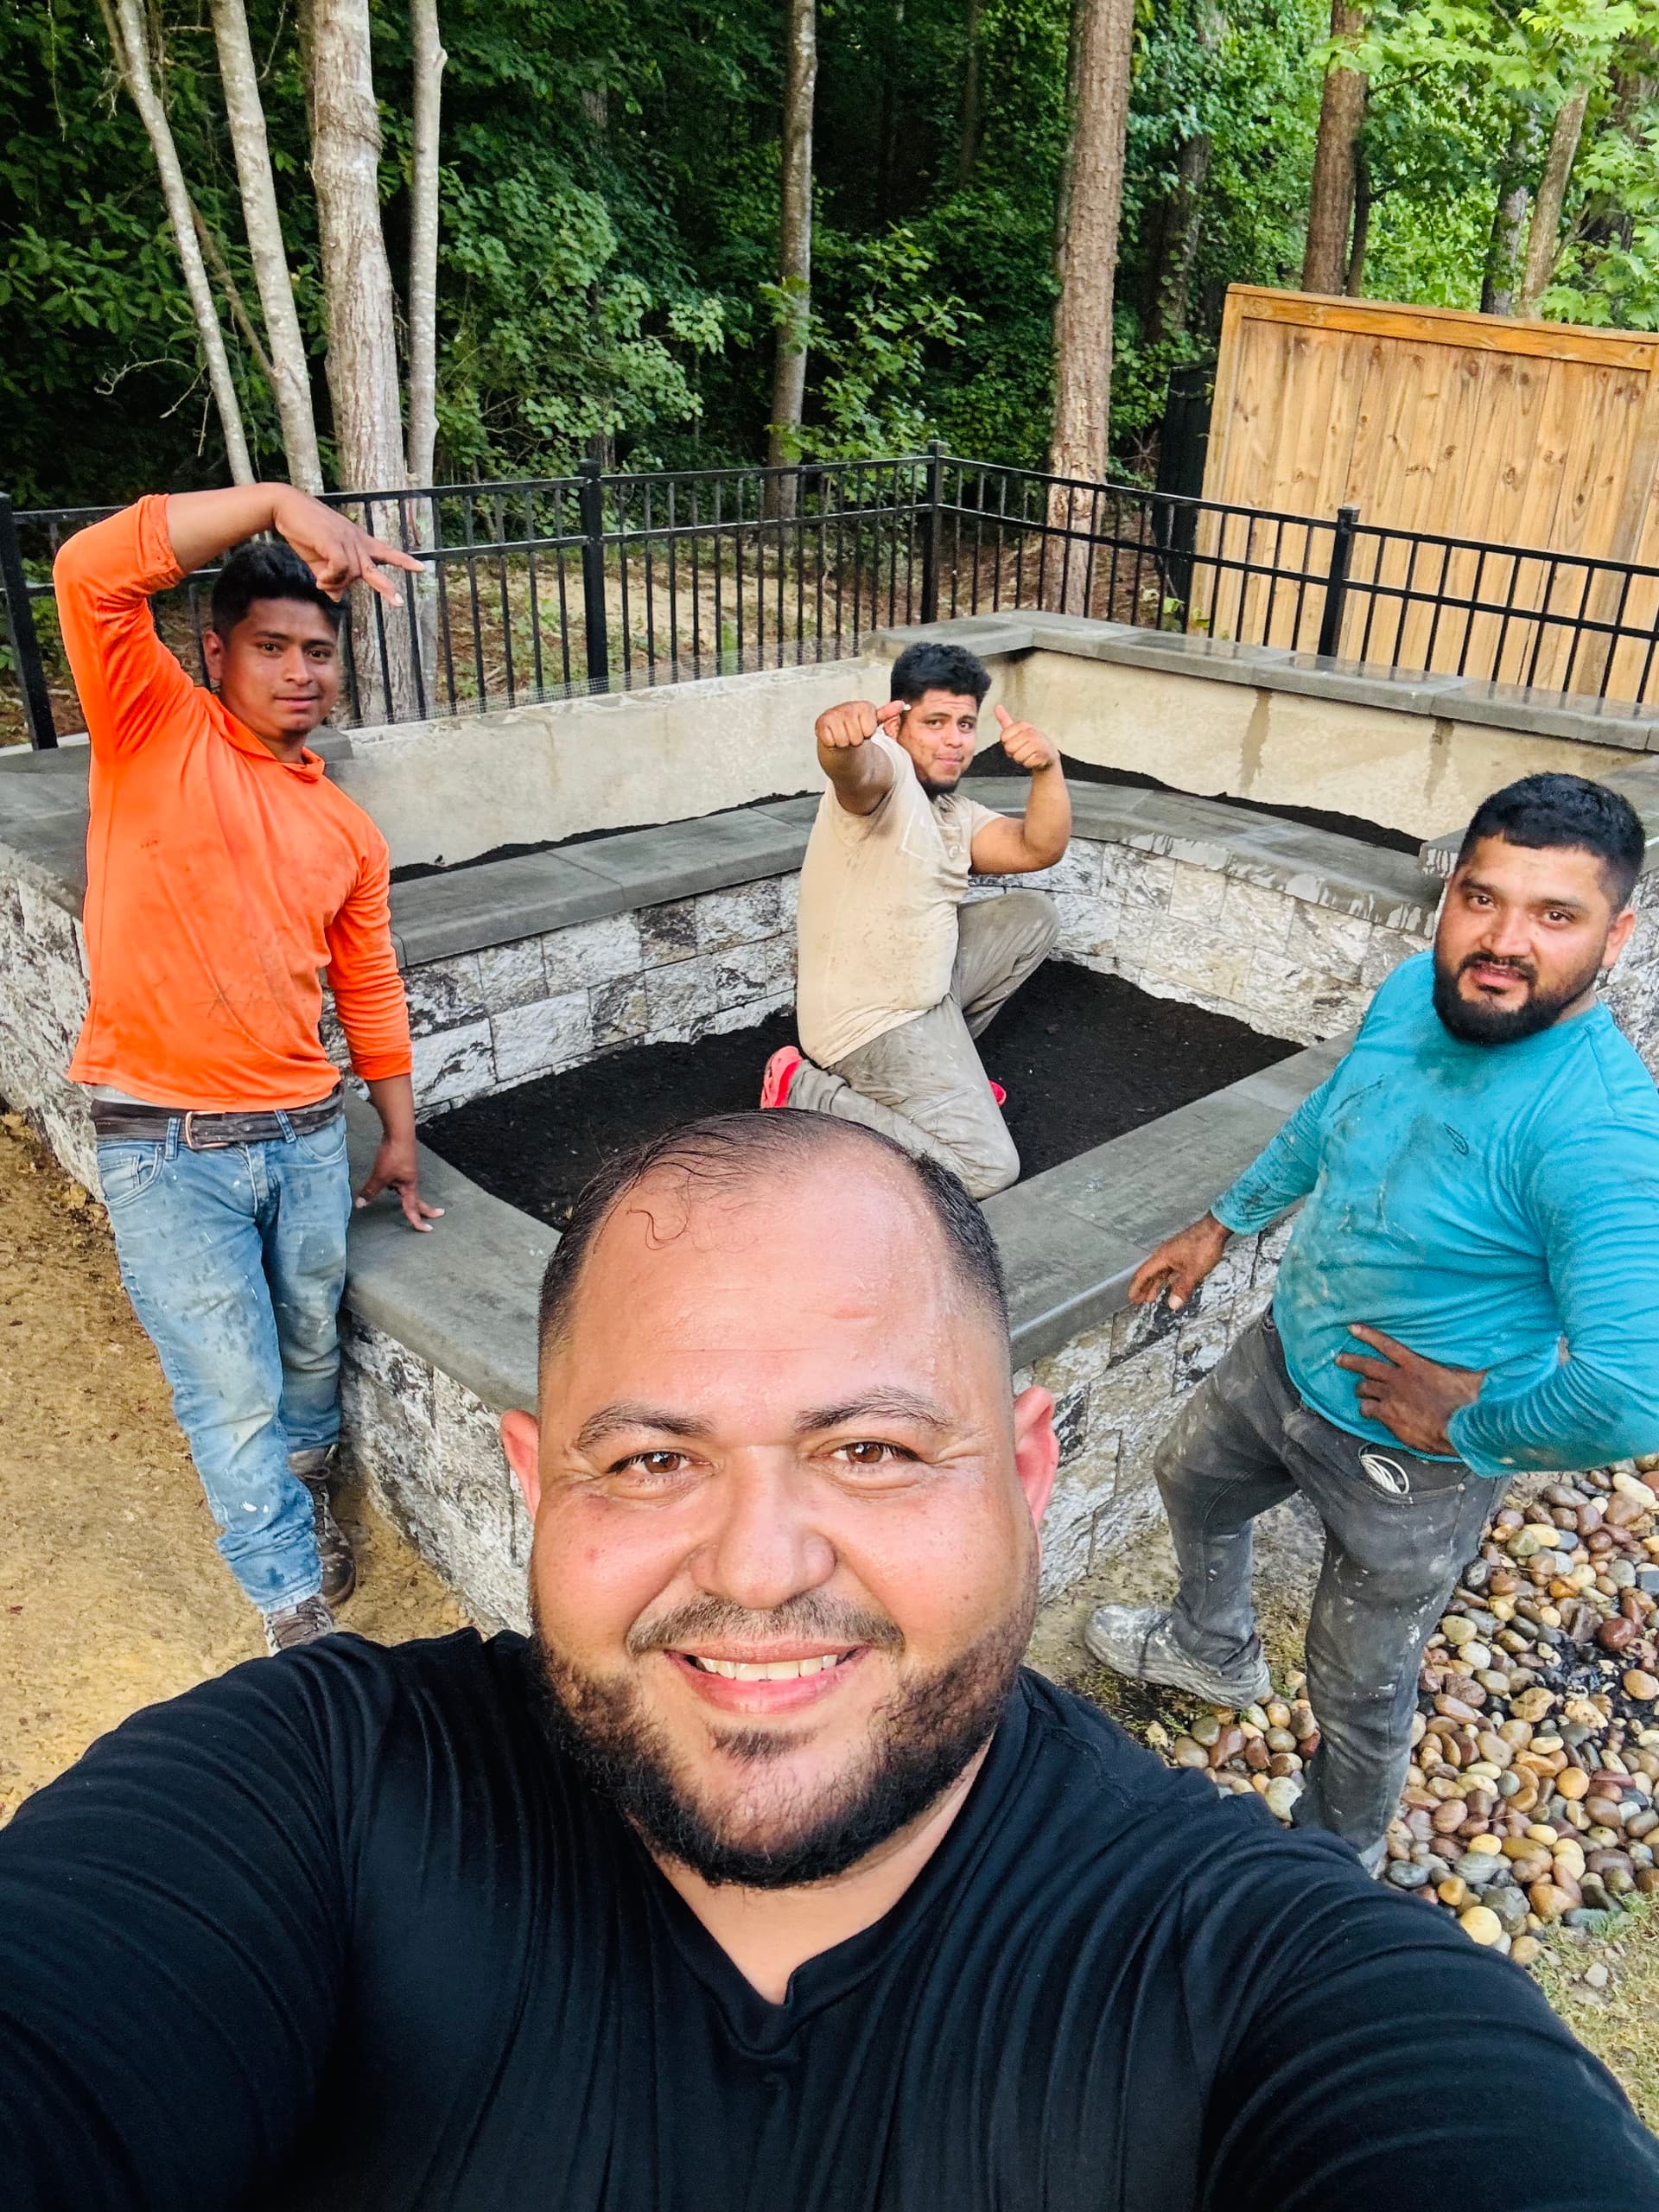
Jobs like this take a full crew, the right materials, and a clear plan from day one. No shortcuts. The stone work, the stucco finish, the drainage planning - it all adds up to something built to actually last. We're proud of how this one came together.